By DIERK TOPP
Painting with light, what’s this? It’s illuminating an object with a pocket or any other lamp moved around the object during exposure. “Painting” the light on the object is not a well-known technique. Many years ago I happened to discover the work of photographer Emil Schildt. Schildt, a true master of “light painting,” created a technique using a pocket lamp as a light source while exposing the object.

Schildt’s images are very special and got me exited to try it myself. I took my DSLR and later also my tiny Leica DLUX and made some tests — and the test shots where great right away!
Most interesting about this technique is that you don’t see on the photographs where the light source is. The light seems to come from all around the object. I was so excited that I wrote a post for German photography site fokussiert.com.
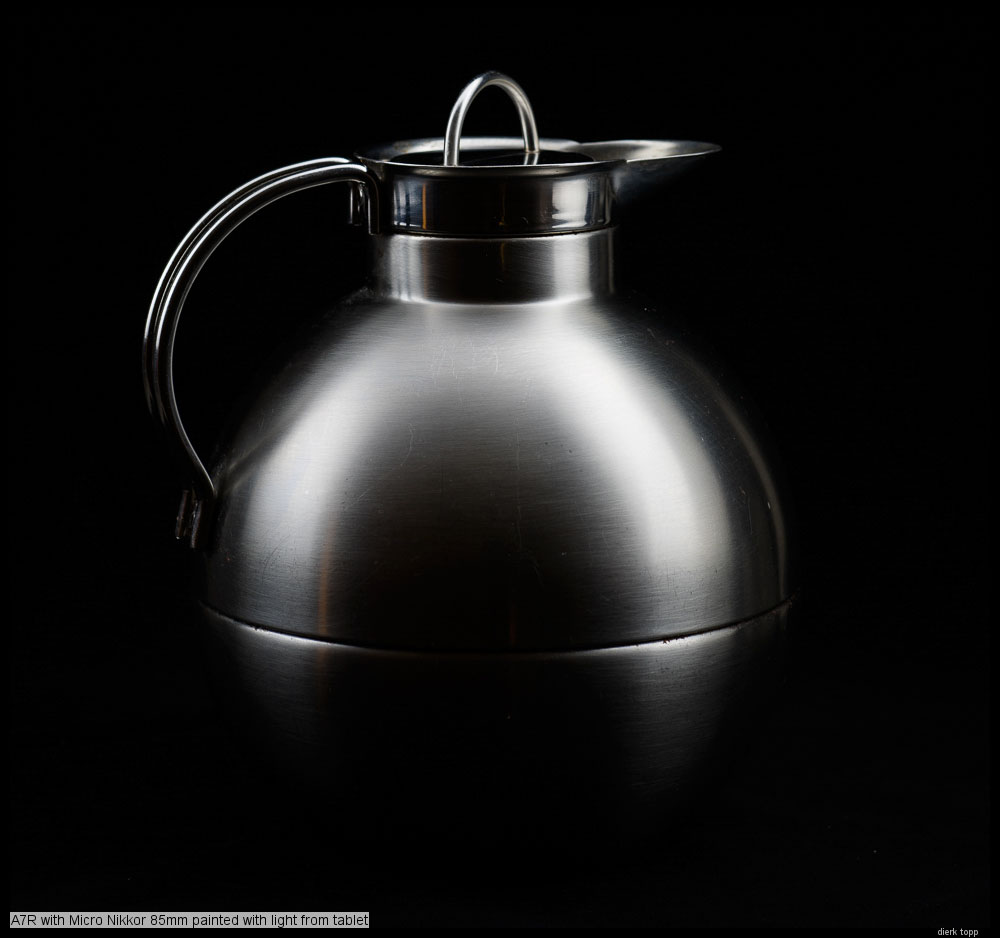
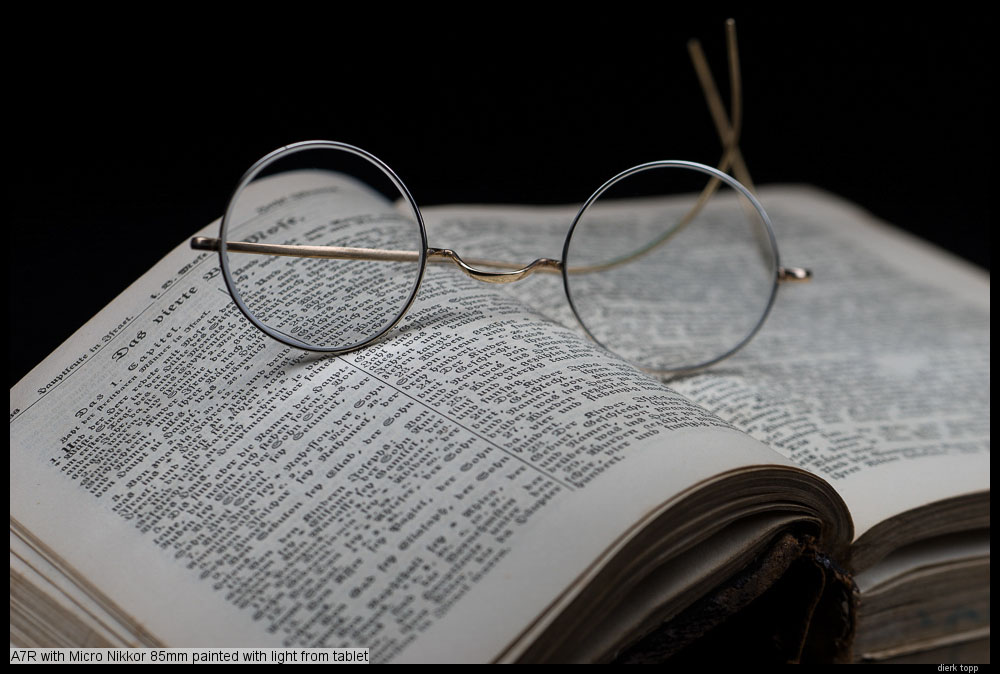
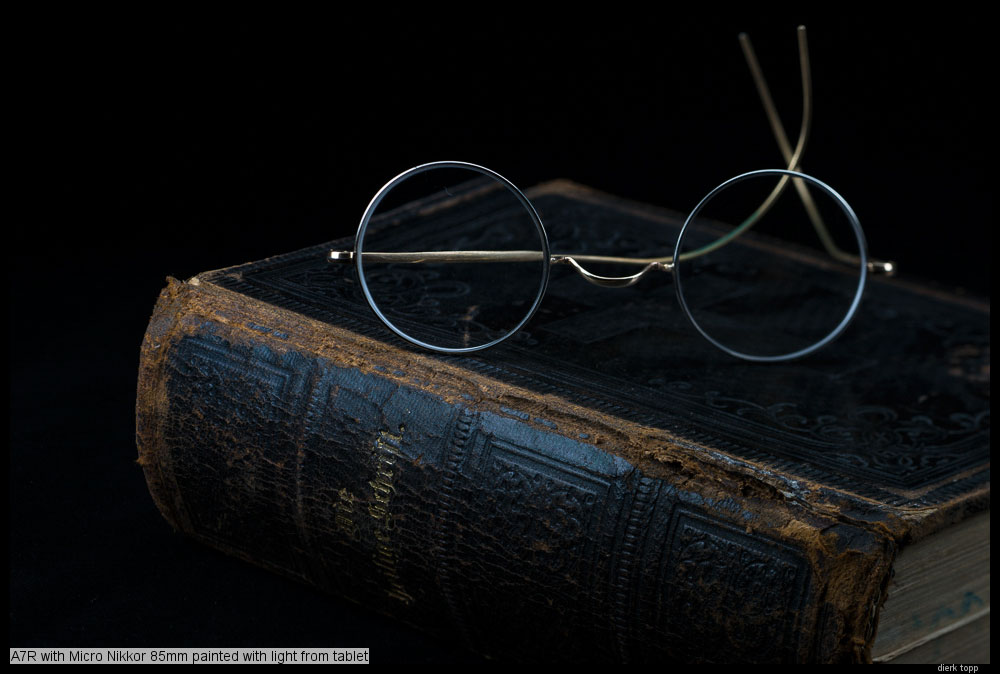
Today, a few years later, I read in a forum that I might as well use a tablet as a light source. Well I tried it — and it worked great as well. The tablet seems work even better. It’s like a soft box for small table top objects with a very neutral white light.
Here’s what you need to “paint with light”:
- any camera that can shoot manual exposure (manual focus is great but not necessary)
- a tripod
- a tablet or smartphone as light source
- a white screen on the tablet or phone
I made a white screen on my tablet by using a screenshot of a more or less empty email, enlarged the image until only the white background was visible and did another screenshot. This image I then used to illuminate the shot. There are apps available that can do the same, but call me old-fashioned, I don’t trust apps.
That’s all! The only thing you’ll now need is an idea. Look around in your household, there sure are enough objects to creatively paint with light and keep you busy…
Here’s how you start:
- position your object
- the background will be perfectly black if far away (avoid any reflecting surfaces in the background)
- set the ISO to base ISO of your camera
- set the shutter to about 10 seconds (you’ll quickly notice if you need more time for the exposure and for moving the light around the object)
- focus the camera manually (if possible, with open aperture, don’t forget to stop down)
- with autofocus you have to keep your finger on the AF-lock until you shoot
- switch off any light in the room
- trigger the shutter and start moving the light source around your object — even back light is no problem!
- check the result and do it again with better or other light angles
That’s all, try it and I’m sure you will like it!
See for yourself what’s possible with this simple technique. Try it and have fun!
Find more of my photography on Flickr.