A good friend, Nate Thayer, the journalist who discovered Pol Pot in the Cambodian jungle in 1998, recently told me, “I used to take pics, but a wise man told me many years ago, ‘Nate you can be a good writer and a good photagrapher, but you can never be great if you do both.” I knew I didn’t have the photo talents, so I chose the pen. But I still have taken and sold many pics and of course most of my friends are photogs. But the freelancing problem is similar for both.” The moral of the story: some years ago, before everyone had a camera, it was so much easier to sell photos. There is still money in good photography, and an interesting new promising market is real estate photography.
(All images in this article by my good friend Markus Görtz who travels the world with boxes full of lots and lots of light.)
Real estate photography hits a convenient niche. You have the gear, knowledge and experience, but traditional business is down. Real estate photography seeks to capitalize on a sweet spot in the recovering U.S. housing market and the needs of real estate agents and photographers alike, such as wedding photographers who are looking for additional income.
Real estate photography might not be the sexiest business, but there’s money in it and it’s not as unpredictable as photojournalism and not seasonal like wedding photography. People are always buying and selling houses, and with the market picking up there’s more demand. Most listings on real estate sites however show awful images. That’s surprising because according to the National Association of Realtors nine out of ten home shoppers begin their search on the Web.
If the pictures are poor, many prospective buyers won’t bother to visit. Of course, which seller wants to spend $1k on a photo portfolio. Most rely on the agents to take the photos, which are usually taken hastily with a cheap point-and-shoot or smartphone. There are a lot of houses out there, and people don’t have time to go to all of them. Good photos, however, make a property stand out.
In fact real estate photography is an ideal supplement business for photographers. It can be a welcome source for additional income. But it’s a specialized craft that has to be learned like any other craft.
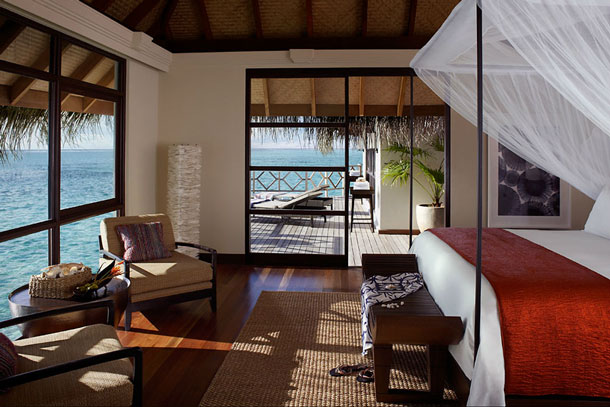
The biggest challenges are the limited space and the difficulty to just get the camera to capture an image that represents what’s seen by the human eye. First, when choosing a room, be careful to select the most interesting portion of the room to photograph. It’s virtually impossible to include an entire room in a single shot.
As most amateur and professional photographers take a percentage of their pictures indoors, one would think we’d all be experts at shooting interiors. Learning how to get good real estate photography is a great encapsulation of the technical skills required to be a professional photographer who’s worth his or her money.
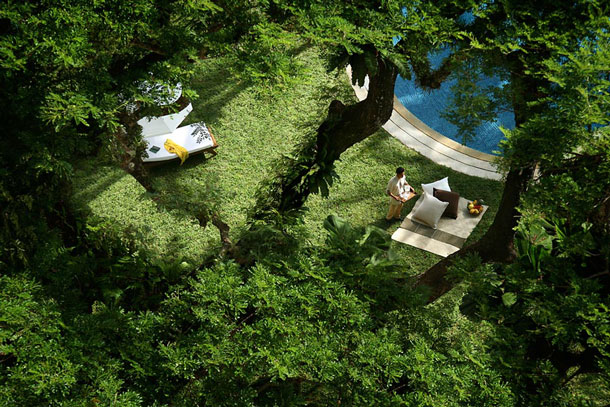
Without properly understanding exposure, lighting, white balance, composition, perspective, contrast, color, texture and above all discipline, without these basics you may well shoot with a smartphone.
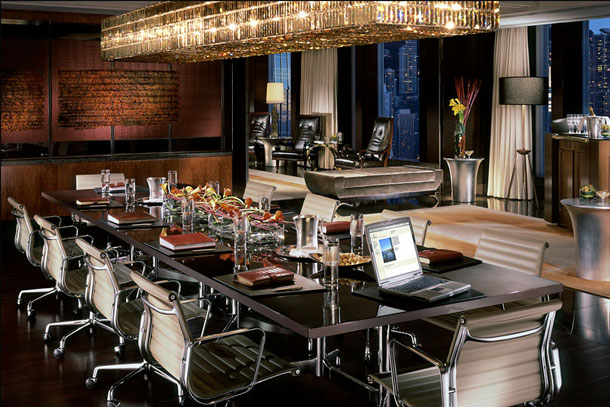
First, here are a few general real estate photography tips:
- Shooting for realtors is sort of the perfect reverse schedule of a wedding and event photographer. Realtors usually take off on Saturdays and do all the open houses on Sundays, so through the week they’re meeting with potential listings, potential owners — and photographers to go in and shoot.
- All you need for a nice, but basic portfolio is an hour or so, including editing. This way, you don’t scare off sellers and realtors with hourly commercial rates. It doesn’t need to be a full day shoot. They’re happy, you’re happy — and you have still time for other gigs. With time these jobs might well fill a day.
- Be known for a quick turnaround service, don’t go over the top in terms of both time spent and money charged. You’re able to deliver the photos the next day. You’re quick, you’re efficient, and there’s no sacrificing quality.
- Still, price point is key. Think about selling your product in packages, so you can sell a single listing, five listings or more, and there are obviously price breaks at that point. Bottom line is this: going out and make, say, a minimum $100 a pop on a listing, that’s a start!
- Promote your real estate photography on the usual channels such as Facebook, but with realtors it’s usually all about word of mouth. If you have a few realtors who are using you consistently, as long as you deliver reliable quality your business will grow from there. Realtors will easily see the benefits of hiring you. They’re seeing more calls, more showings and more interest now that they are using better photography.
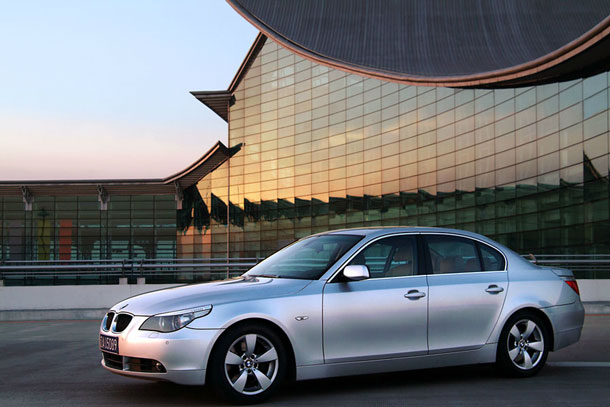
Now here are THEME’s ins and outs of real estate photography technique:
- Of course, the perfect camera of a professional real estate photographer is medium format. It allows you to make perspective corrections, get all the lines perfectly straight and is usually the camera of choice for professional magazine shots. Full-frame and cropped sensors can do the job perfectly well, just make sure your lens and post-processing have distortion under control — and there’s sufficient resolution for cropping.
- Always use a tripod. As you look through the viewfinder and tilt the camera up and down from the ceiling to the floor, watch what happens to the vertical elements of the picture. You will notice when looking into the lower corner of a room the perspective in the verticals becomes convergent. This means they get wider as they get further away. The opposite convergent verticals can be seen if you look up to the ceiling through the viewfinder. Both these convergent or divergent verticals should be avoided. To ensure that the verticals stay vertical, try and keep the camera completely horizontal. If your eye and your camera are at the same height then you should be pointing your camera at a point on the wall at the same height. This ensures the proper vertical perspective. Most interior photographers shoot around head height or just above ground level which can give a different feel to an image.
- Talking lighting, purchase a gray card to get your camera’s custom white balance set correctly for each room. Using a white sheet of paper can do as well and is quite effective. If you’re using a flash, tungsten and low energy bulbs often give an orange light, so you risk getting a horrible mix of white bits that are close to the flash, while darker areas turn orange. Turn that flash off, use natural and all available light. Right, you’ll then have different light sources with different white balance values. Maybe you have to eliminate a light source for better results. This is why initially it may be easier to shoot with no electric light, just using natural light. You negate this issue by shooting at dusk or night time. If you’re after perfect shots, try to replicate what the human eye sees. This often means using colored gels on three or four remotely triggered flashes that give even illumination to match the white balance of the interior lighting scheme.
- Shooting inside, close the drapes to lessen the possibility of the camera’s light meter being fooled by bright exterior light. Even better: wait for shafts of sunlight to come through the window; they create a friendly mood. Generally though, interiors are tricky because the light is usually awful. Often the window in your images will be overexposed and blow out. This is because there is more light coming through the window than the lights in the room can provide. If you have a decent flash or set of lights, you can try to balance the window light to give a more realistic feel. Failing that, you could wait for a duller day, or for the sun to dip down over the horizon. Bring a ton of lighting if you can. Light from the windows usually fools every camera meter, so you’re going to have to fiddle with additional light sources and exposure. Or back at the editing desk you can always try Photoshop CS’ newer lighten shadows command.
- Yes, you paint rooms a light, neutral color. As a rule of thumb, I’d first turn all the lights on in the house, and fill in dark areas with work lights. Again, avoid the camera’s built-in flash. It will make the most spectacular room look like a scary dungeon. Well maybe a fill flash and bounce that thing.
- Be aware of any interesting features in a given room, be it a specific color or structure, even a contrast in tone. Find a balance and paint rooms a medium, neutral hue and introduce spots of color in pillows, paintings and throws. Use odd numbers of accessories, such as three or five, in different sizes. For instance, on a bedside table, put flowers, a few books and a small clock. And draw blinds so they are horizontal and windows look transparent. Move furniture so it doesn’t hide architectural features such as a fireplace.
- Agents usually suggest that owners depersonalize their homes by removing family photos, clearing off tables and countertops and removing evidence of hobbies and trophies, so buyers can better visualize themselves in the space. Clutter is never good. De-clutter, otherwise the image may turn out messy and unstructured. Clear counter space and remove fridge magnets, children’s toys, dirty dishes and other distractions. Put away clothes on hooks. Still, a few personal items in a room make a photo livelier. Use props such as fruit, drinks, magazines and towels. This will make the space look as if someone with style and good taste lives there.
- If a room is empty, bring in a prop such as a chair to give it a sense of scale. For empty houses, try to capture rooms that are together, such as a master bedroom and bathroom, to add interest to the image. You don’t always have to shoot the entire room; keep the composition balanced. A vase, chair or object in the foreground gives more depth to the shot. And shoot two walls only, with a bit of floor and ceiling. Shooting three walls creates a claustrophobic shoebox effect.
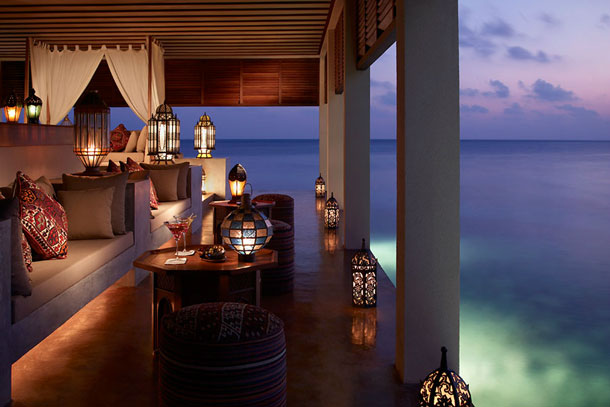
- If shooting outside, keep the sun behind you, shining on the face of the home. If the main entry is always in the shade or if there are heavy shadows from trees, shoot it on a partly cloudy or overcast day to lower the contrast. Don’t forget to remove garbage cans, cars, seasonal decorations, flags and plaques. Try not to include telephone poles, wires and other homes in the scene. Best time of the day to shoot exterior though is at dusk. It will look welcoming. Twilight is the magic hour, or even the magic minute. The prettiest exterior shots are made just after the sun has set and the sky gets a deep blue to match the lighting of the exterior.
- And play with perspective. Take exterior pictures from a ladder or the top of your car, especially if you are using a wide lens. That’s for exteriors. Inside, resist the temptation to stand on a chair in the corner of a room unless you want the image to look like footage from a security camera. And if the house has a spectacular view, say of a beach, lake, mountains, park or golf course, or if there’s an attraction nearby, by all means they belong into the portfolio.
- Don’t shoot too wide, this will create distortion and tilting makes side walls appear slanted. Get dynamic angles by shooting low or with something in the foreground. Shoot rooms from an angle; they’ll look larger. And mind bokeh, aim for a clean depth of field, F8 and F11 sound just fine.
- You’re a perfectionist and aim higher? Then an hour surely won’t do. Each room looks best at a different time of day, so give yourself half a day to complete the portfolio — if the client is willing to pay. And he or she may well be once you’ve developed your style. As with food and fashion photography, styles are changing all the time — the current trend being towards natural looking interiors. Keep up to date with styles by looking at interior design magazines and architecture journals. Even the Sunday newspapers and magazines can give you a fair idea of what is currently fashionable.
- And if you’re really good at it, offer video. This not only raises the visibility of a property, nicely edited a video can make a listing really stand out.
Good luck and happy shooting!
